


DIY CAR HEADLINER REPAIR GUIDE – What You Need to Recover Your Roof Lining at Home + eBook
Original price was: $39.95.$24.95Current price is: $24.95.
You Will Learn How To Recover and Fix Your Sagging Car Roof Lining Professionally!

DIY CAR HEADLINER REPAIR GUIDE – Everything You Need to Recover Your Roof Lining at Home
Thinking About Doing Your Car Roof Lining Yourself?
Before you buy fabric, glue and tools, make sure you know exactly what you need.
Recovering a car headliner isn't necessarily complicated, but getting the wrong fabric, the wrong adhesive or skipping important preparation steps can turn a straightforward DIY job into an expensive mess.
That's why we created this page.
Here's everything you need to know before starting your DIY car headliner repair.
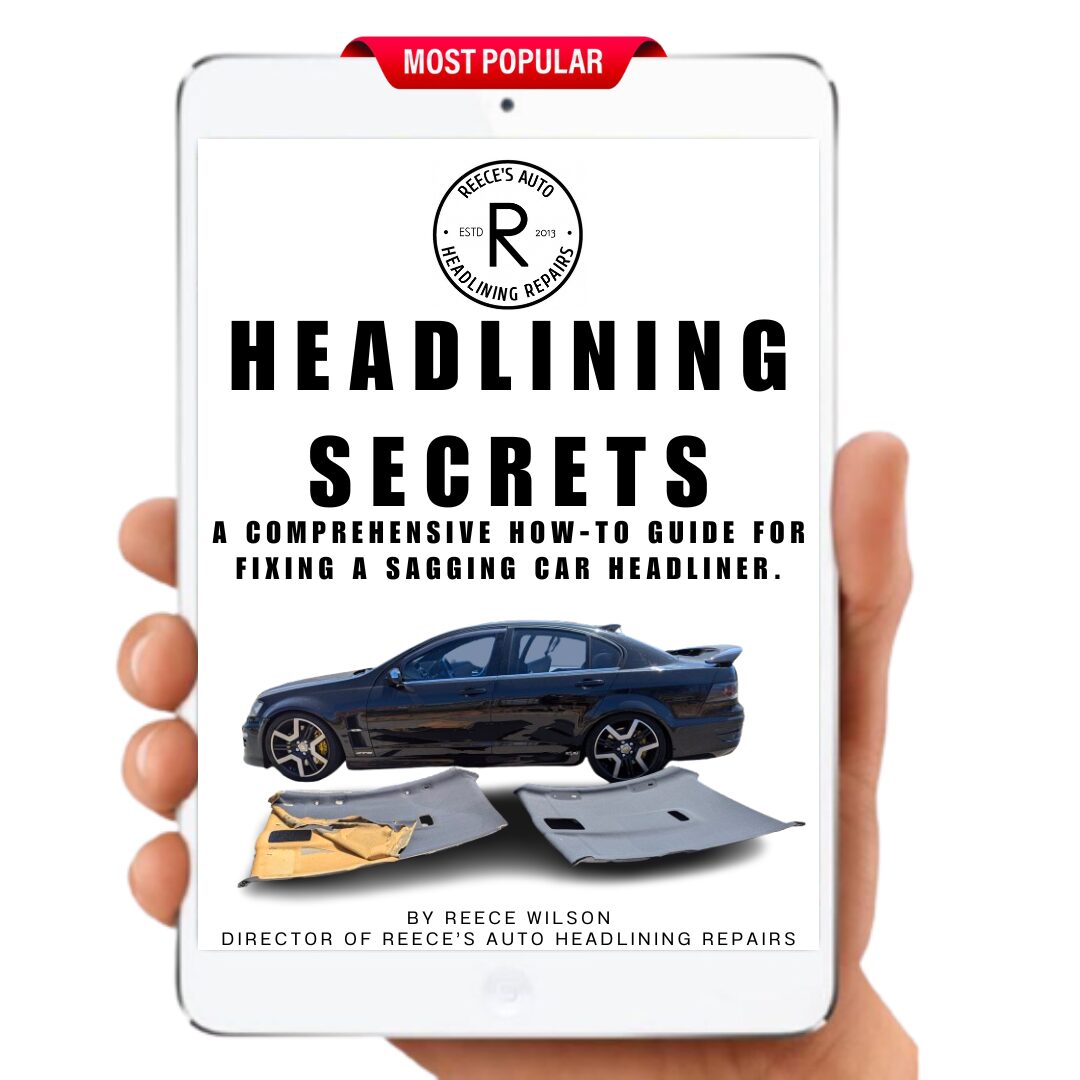
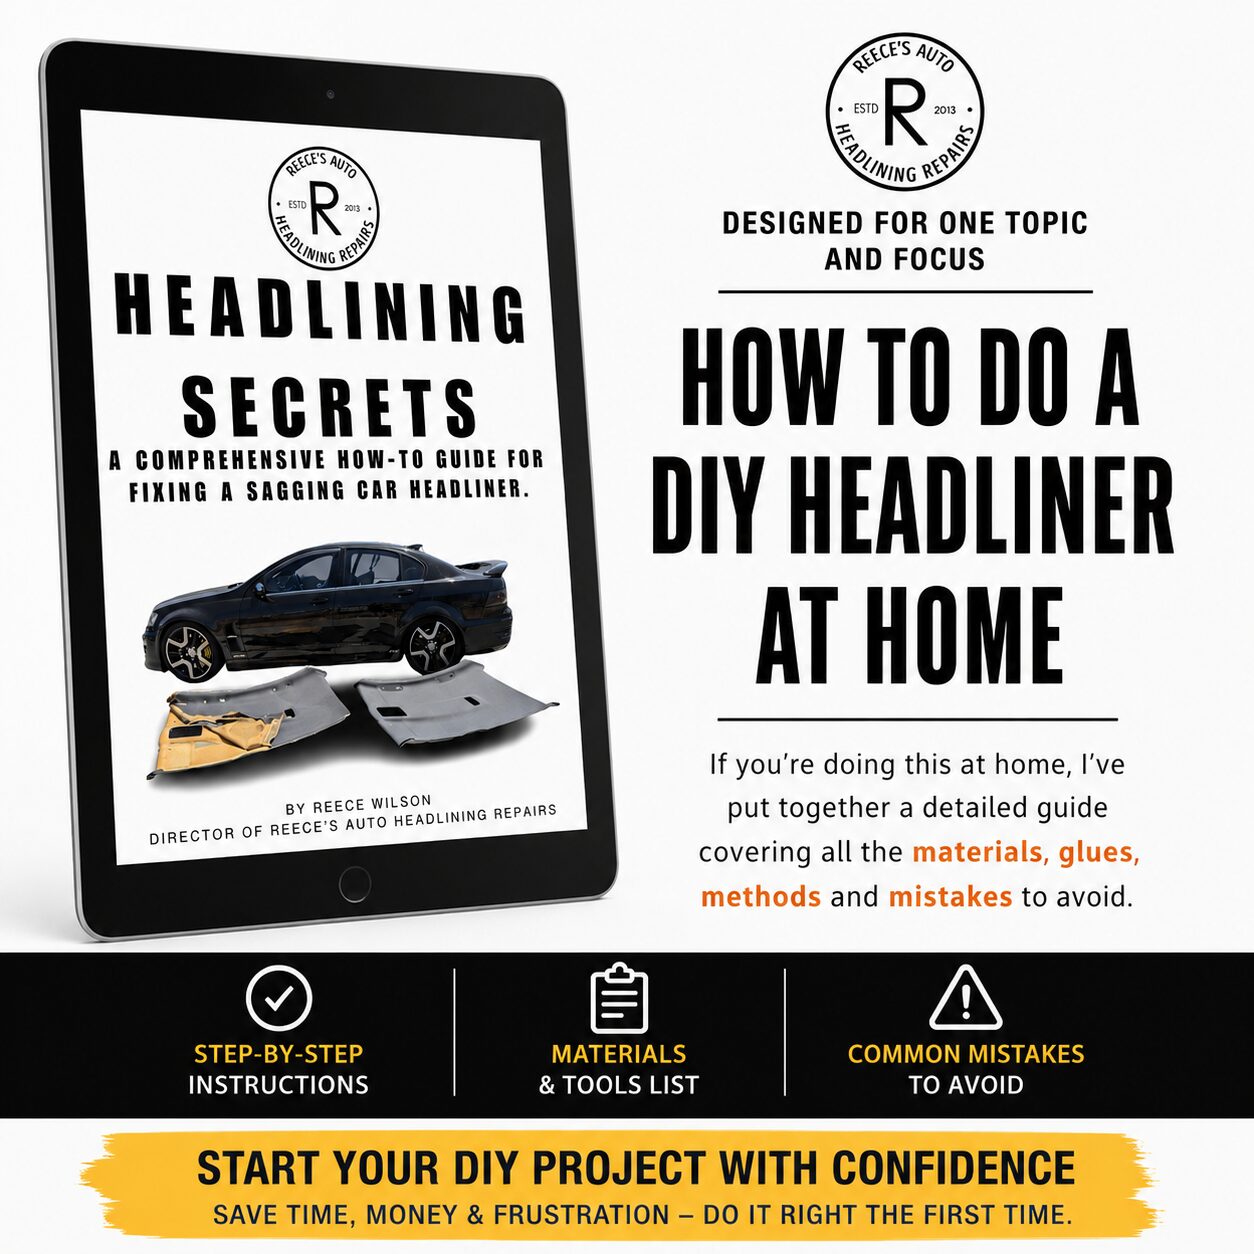
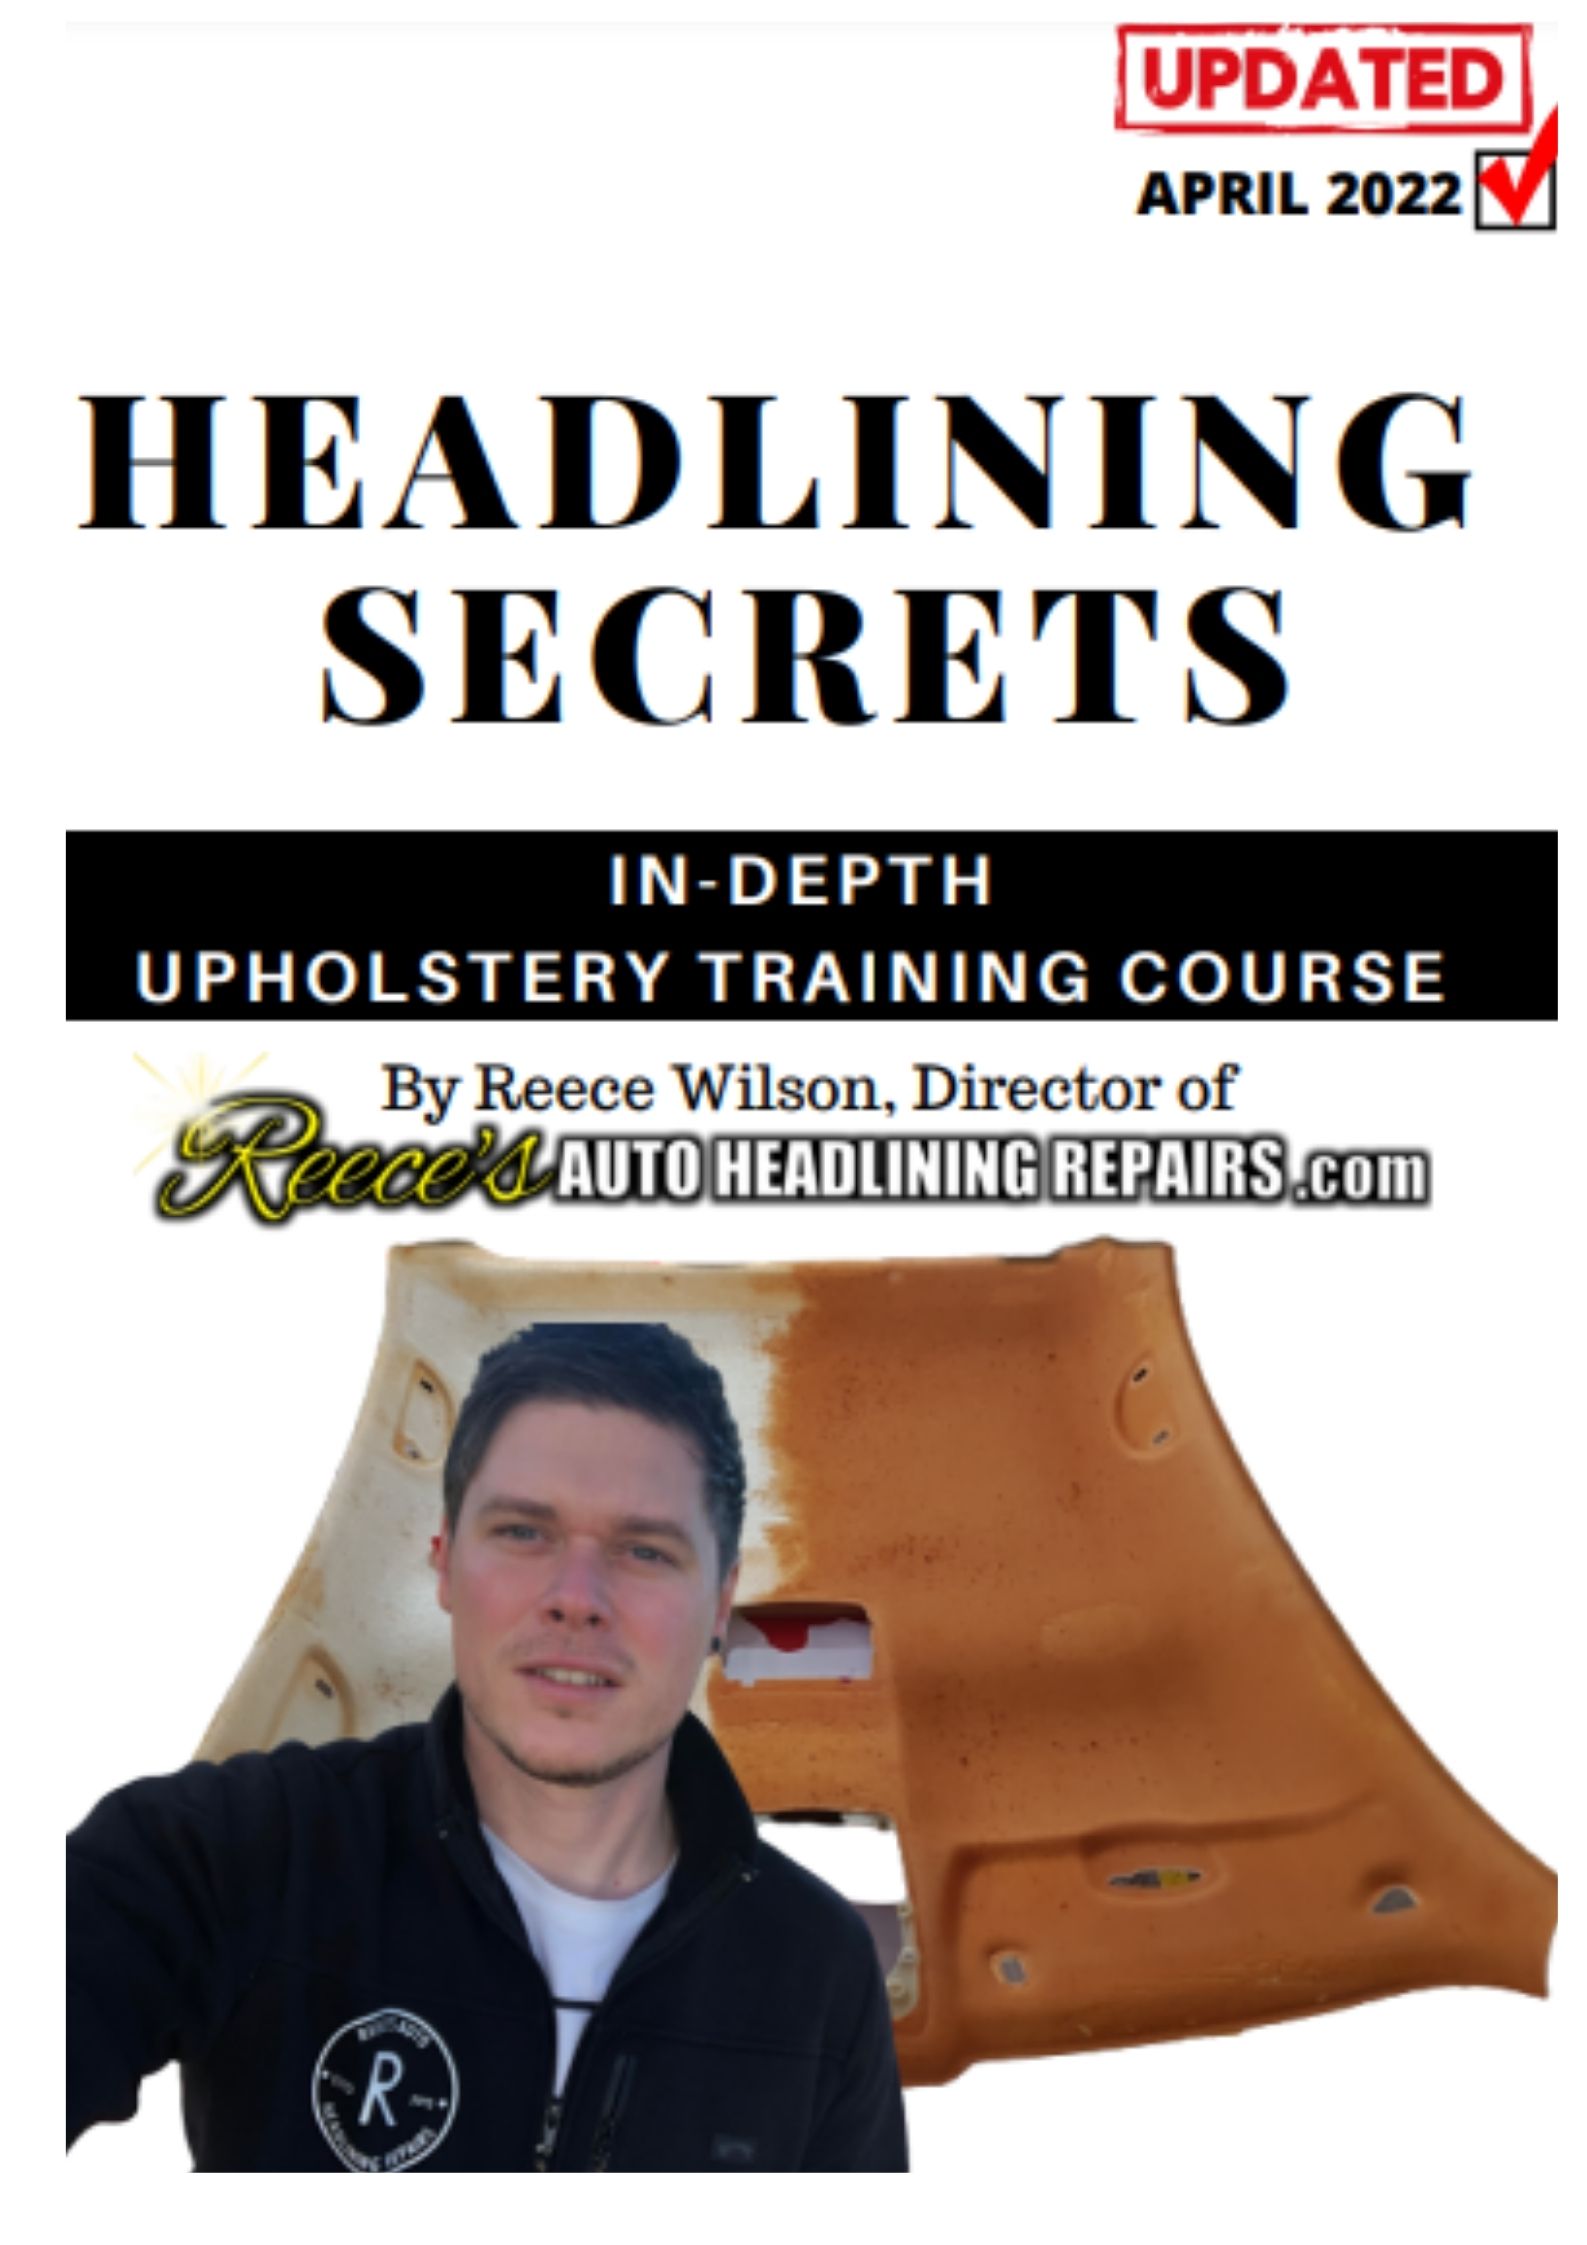
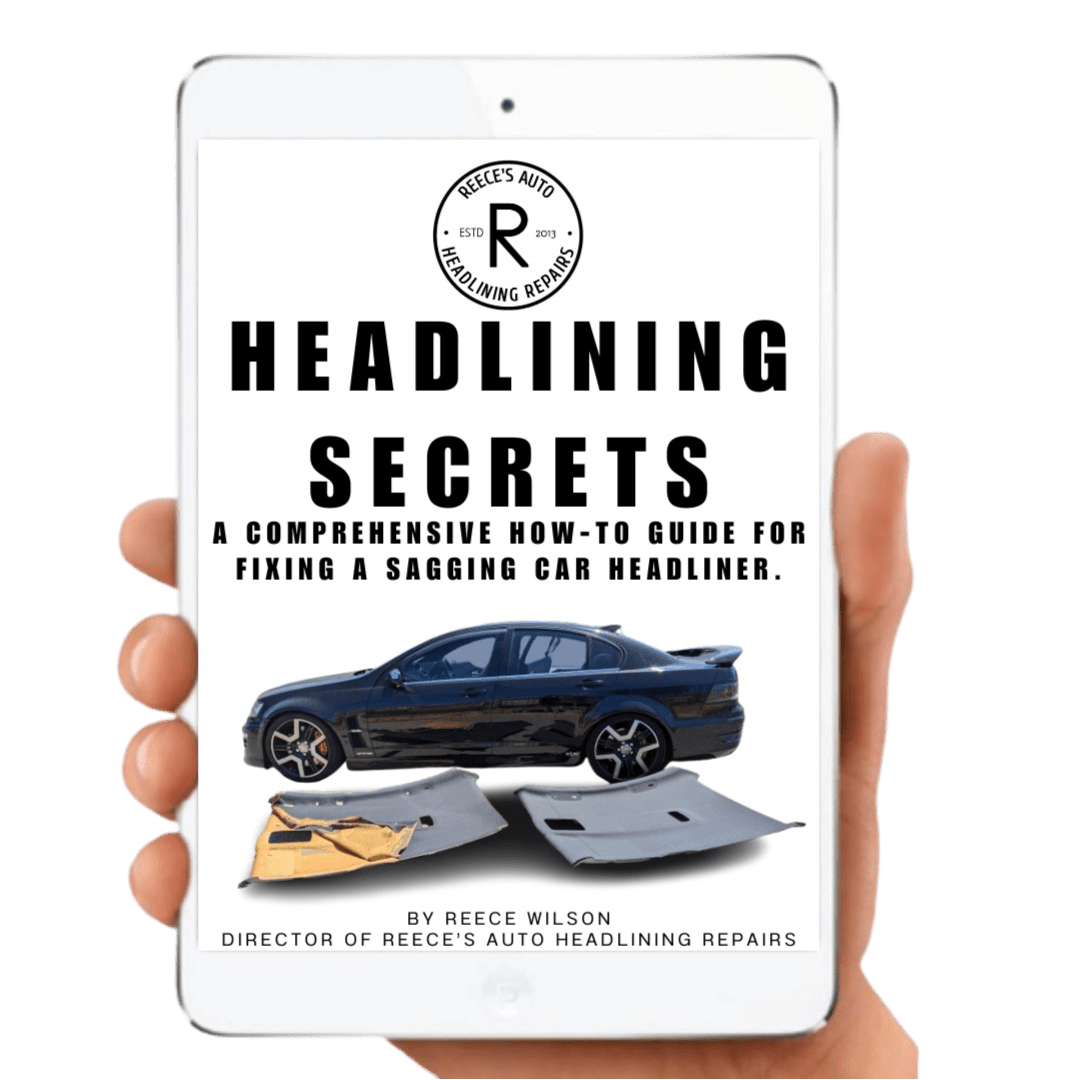
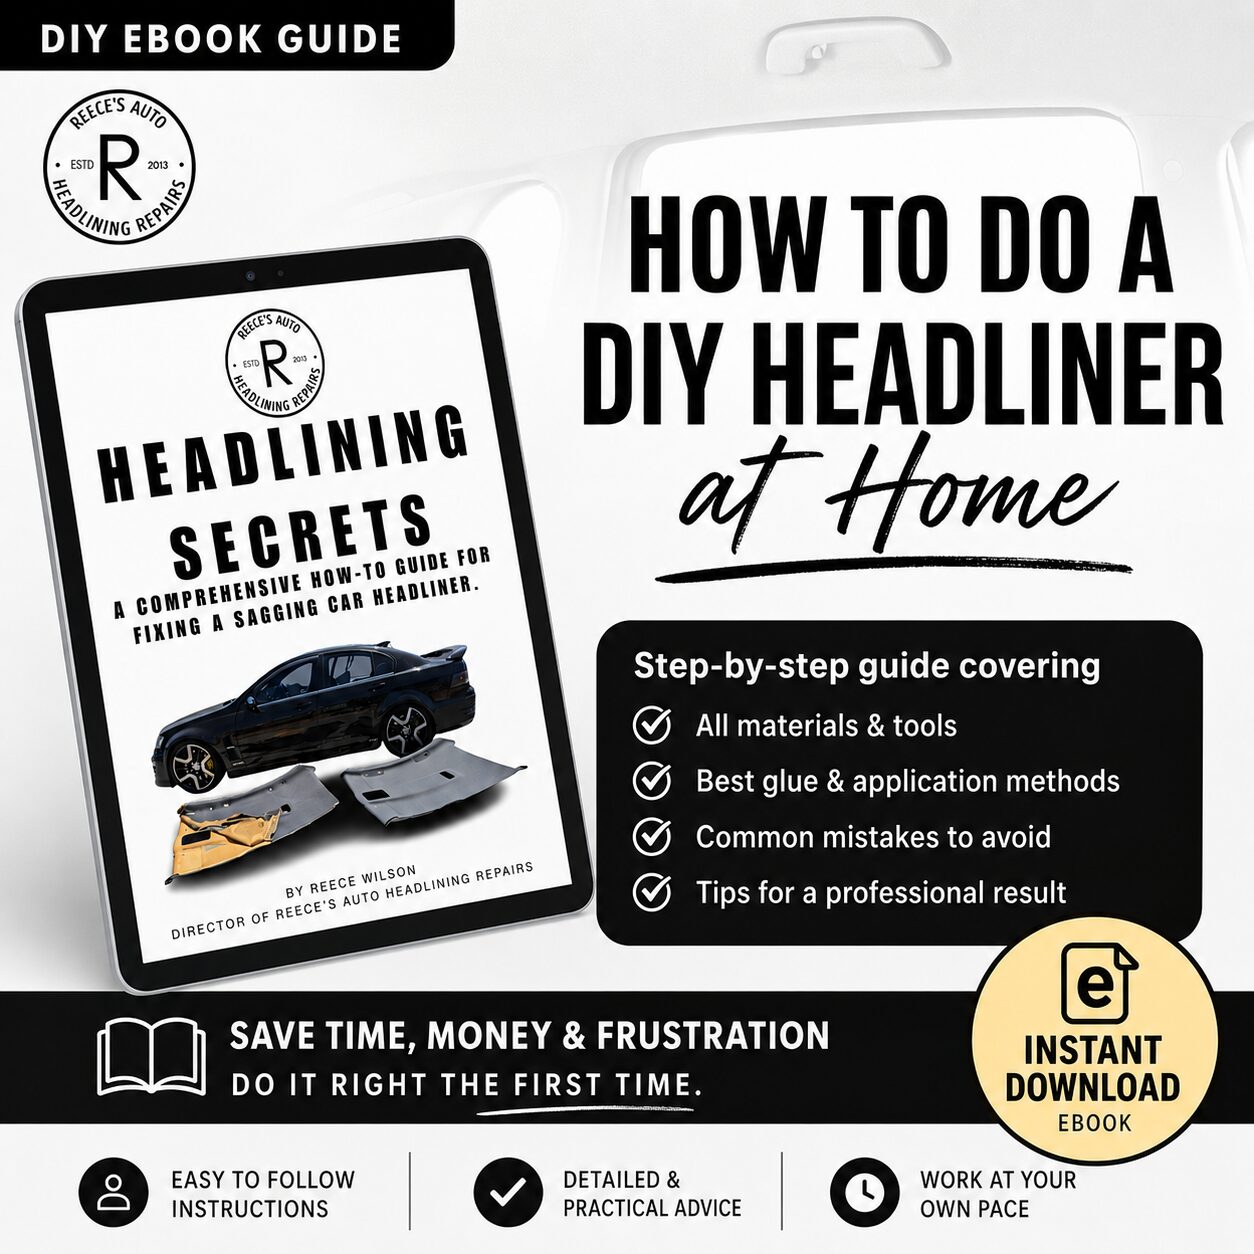
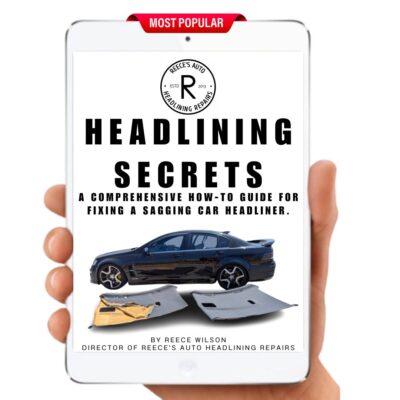
And if you want the complete step-by-step instructions, our Headlining Secrets eBook + Bonus Video Course is available for just $24.95.
🚗 WHAT DO I NEED TO REPAIR A CAR HEADLINER?
For a typical car roof lining recovery, you'll generally need:
🧵 1. HEADLINER FABRIC
You'll need foam-backed automotive headliner fabric specifically designed for roof linings.
Don't simply use ordinary upholstery fabric.
Automotive headliner material needs to be suitable for the application, have the correct stretch and have an appropriate foam backing.
We stock the same types of headliner fabrics we use in our own headlining work, with a range of colours and finishes available.
🧴 2. HEADLINER ADHESIVE
The adhesive is one of the most important parts of the job.
We recommend using a high-quality automotive headliner adhesive rather than ordinary household spray glue.
We use TensorGrip T65 regularly in our own work along with brush on super grip 1000, but products such as 3M High Tack 76 and Permatex Headliner Adhesive can also be used, they just respond differently, but we will discuss the glue types further.
Our adhesive recommendations and application methods are covered in our DIY guide.
🧹 3. CLEANING & PREPARATION PRODUCTS
Once the original fabric is removed, the old deteriorated foam needs to be removed from the headliner board.
This is one of the most important stages.
Do not simply glue new fabric over loose, deteriorated foam.
The board needs to be properly prepared before the new fabric is installed.
🔧 4. BASIC TOOLS
Depending on the vehicle, you may need:
- Trim removal tools
- Screwdrivers
- Torx bits
- Scissors
- Sharp trimming knife
- Brushes
- Cleaning tools
- Suitable workbench or flat work area
You don't need a huge professional workshop to get started.
🧵 HOW MUCH HEADLINER FABRIC DO I NEED?
This depends on the vehicle.
As a general starting point:
Ute
Approximately 1 metre
Sedan
Approximately 2 metres
Wagon
Approximately 2.5 metres
Larger vehicles
You may require additional material depending on the size and shape of the headliner.
These are general guidelines only.
Sunroofs, unusual headliner shapes, roof-mounted entertainment systems and other features can change the amount required.
That's why we offer vehicle-specific fabric and glue kits for many popular Australian vehicles.
🧴 HOW MUCH GLUE DO I NEED?
Adhesive requirements also vary depending on the vehicle and application.
As a general guide based on our own experience with TensorGrip T65:
Ute / smaller headliner
Approximately 1 × 500ml can
Sedan
Approximately 2 × 500ml cans
Wagon / larger headliner
Approximately 2–3 cans or more
Additional adhesive may be required for pillars, sunroof panels and other areas.
Our own T65 testing and recommendations are based on the quantities we use during real headliner recovery work.
🎨 WHAT COLOUR HEADLINER FABRIC SHOULD I BUY?
This is another area where people can easily get caught out.
A colour that looks like “grey” online may be completely different once it's sitting next to your vehicle's interior.
We stock multiple colours and finishes, including:
- Black / Ebony
- Dark Grey
- Light Grey
- Anthracite
- Light Oyster
- Fawn
- Mid Grey
- Black Suede
We also have vehicle-specific options for popular models.
For example, our Ford FG sedan kit uses #6 Light Oyster for the standard interior application, while some FGX vehicles can have a darker Shadow Grey interior requiring a different fabric.
Our Holden VE/WM/VF-related kits also include different colour options depending on the vehicle and interior.
🔨 THE BASIC DIY HEADLINER PROCESS
Once you have your materials, the general process is:
STEP 1 – REMOVE THE HEADLINER
Remove the necessary trims, handles, lights and other components and carefully lower the headliner board.
STEP 2 – REMOVE THE BOARD
Depending on the vehicle, the board may need to be carefully manoeuvred through a door, boot or other opening.
STEP 3 – REMOVE THE OLD FABRIC
Strip away the old headliner fabric.
STEP 4 – REMOVE THE DETERIORATED FOAM
Thoroughly clean the remaining old foam from the board.
STEP 5 – PREPARE THE BOARD
Make sure the surface is clean, dry and suitable for the new fabric.
STEP 6 – APPLY ADHESIVE
Apply your chosen headliner adhesive according to the correct application method.
STEP 7 – INSTALL THE NEW FABRIC
Carefully position the fabric and work it into the contours of the board.
STEP 8 – TRIM & FINISH
Trim the excess material and carefully finish the edges and openings.
STEP 9 – REINSTALL
Put the completed headliner back into the vehicle.
⚠️ THE BIGGEST DIY HEADLINER MISTAKE
DON'T JUST SPRAY GLUE ONTO THE OLD SAGGING FABRIC.
This is one of the most common things people try when their roof lining starts falling down.
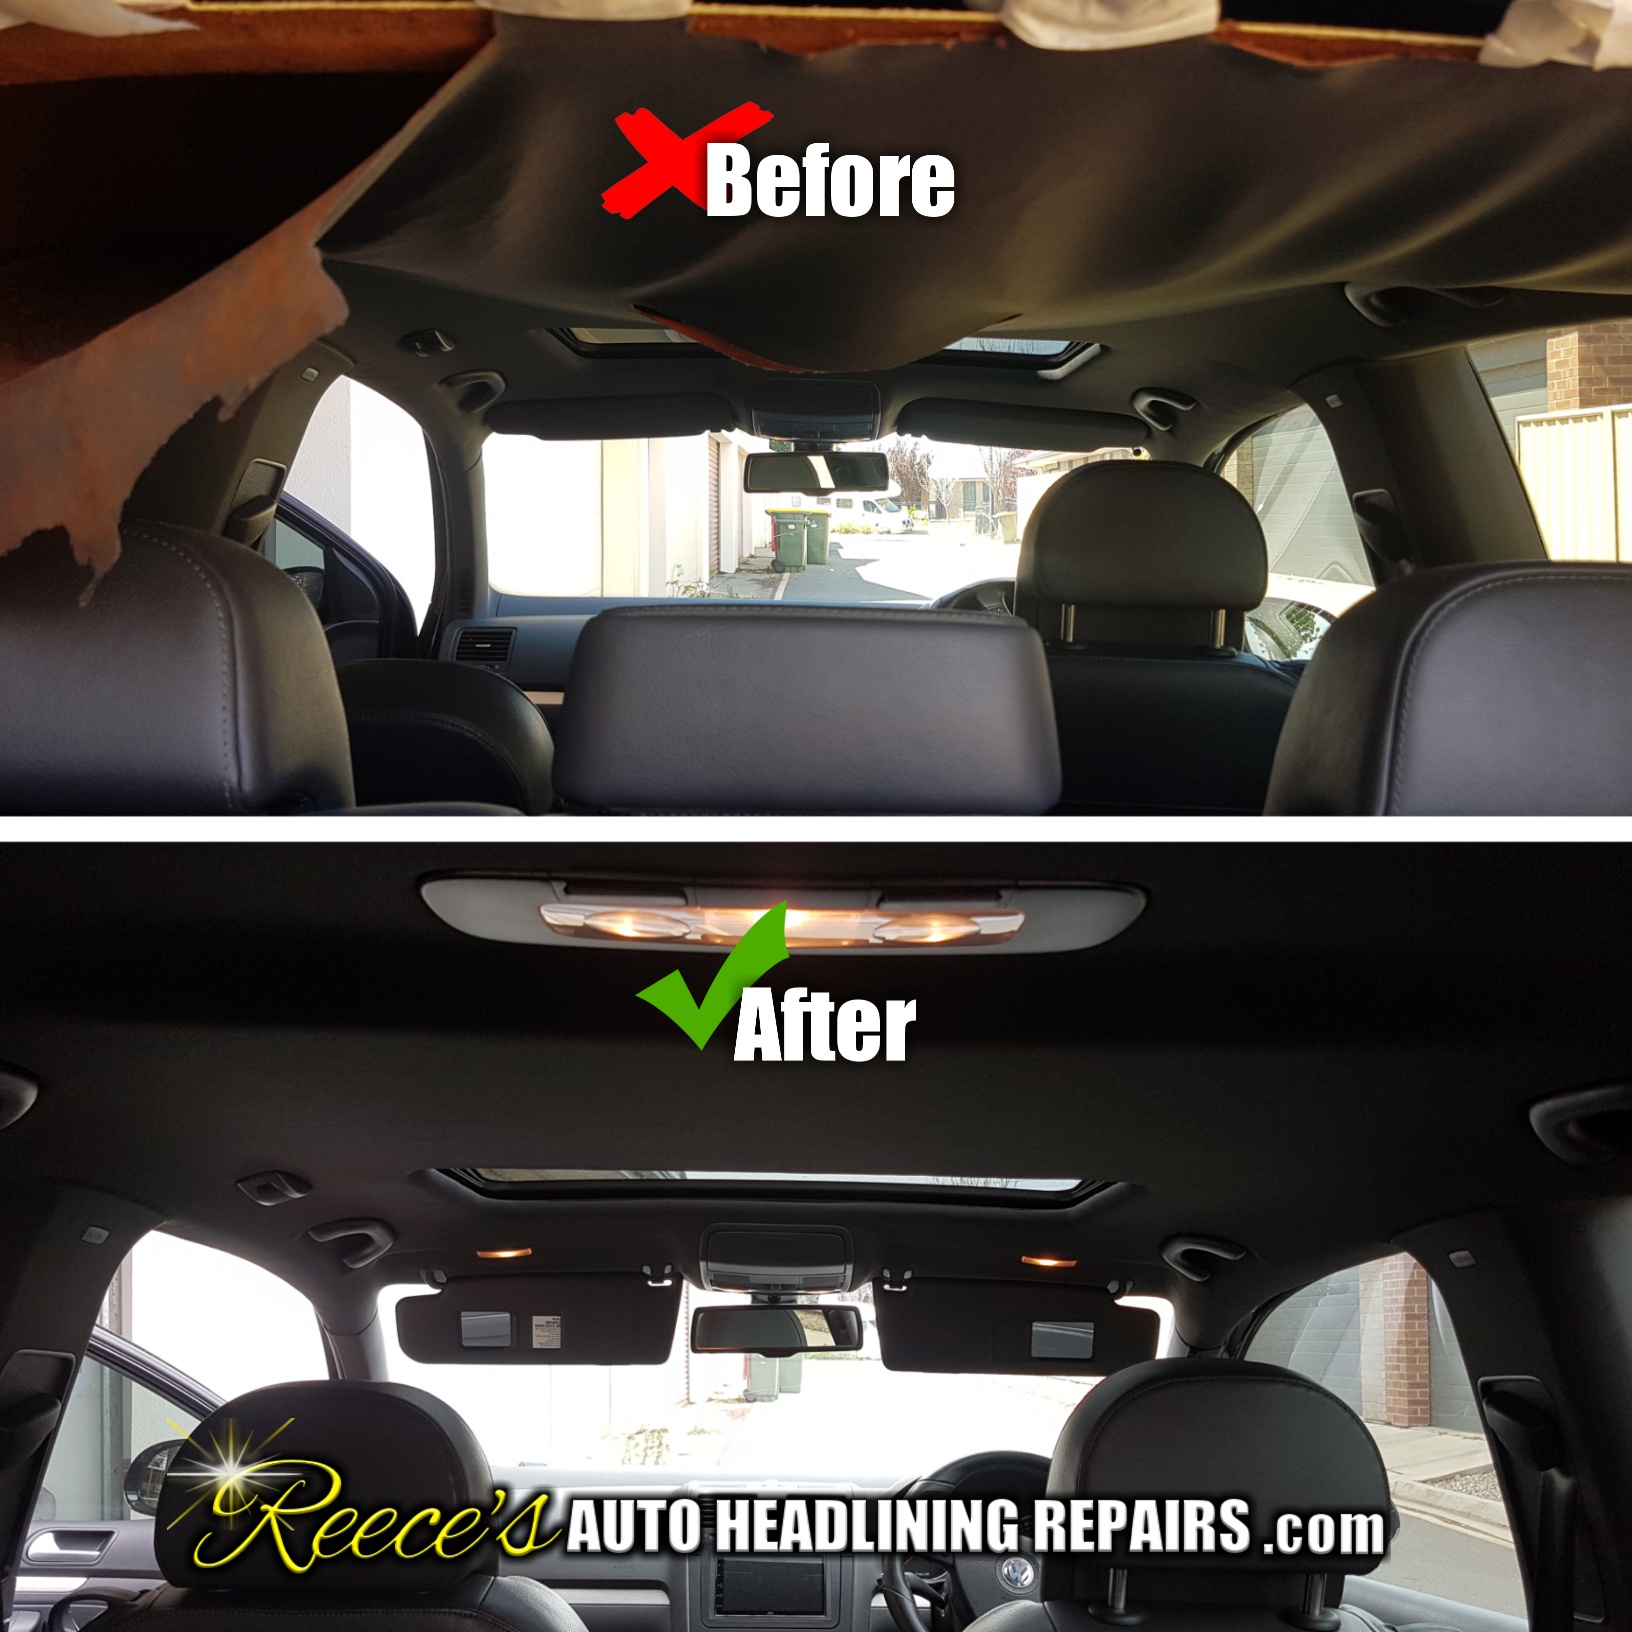
Unfortunately, once the original foam backing has deteriorated, simply adding adhesive doesn't properly restore the headliner.
The correct process generally involves:
Old fabric off → old foam removed → board prepared → new foam-backed fabric → appropriate adhesive → finished headliner
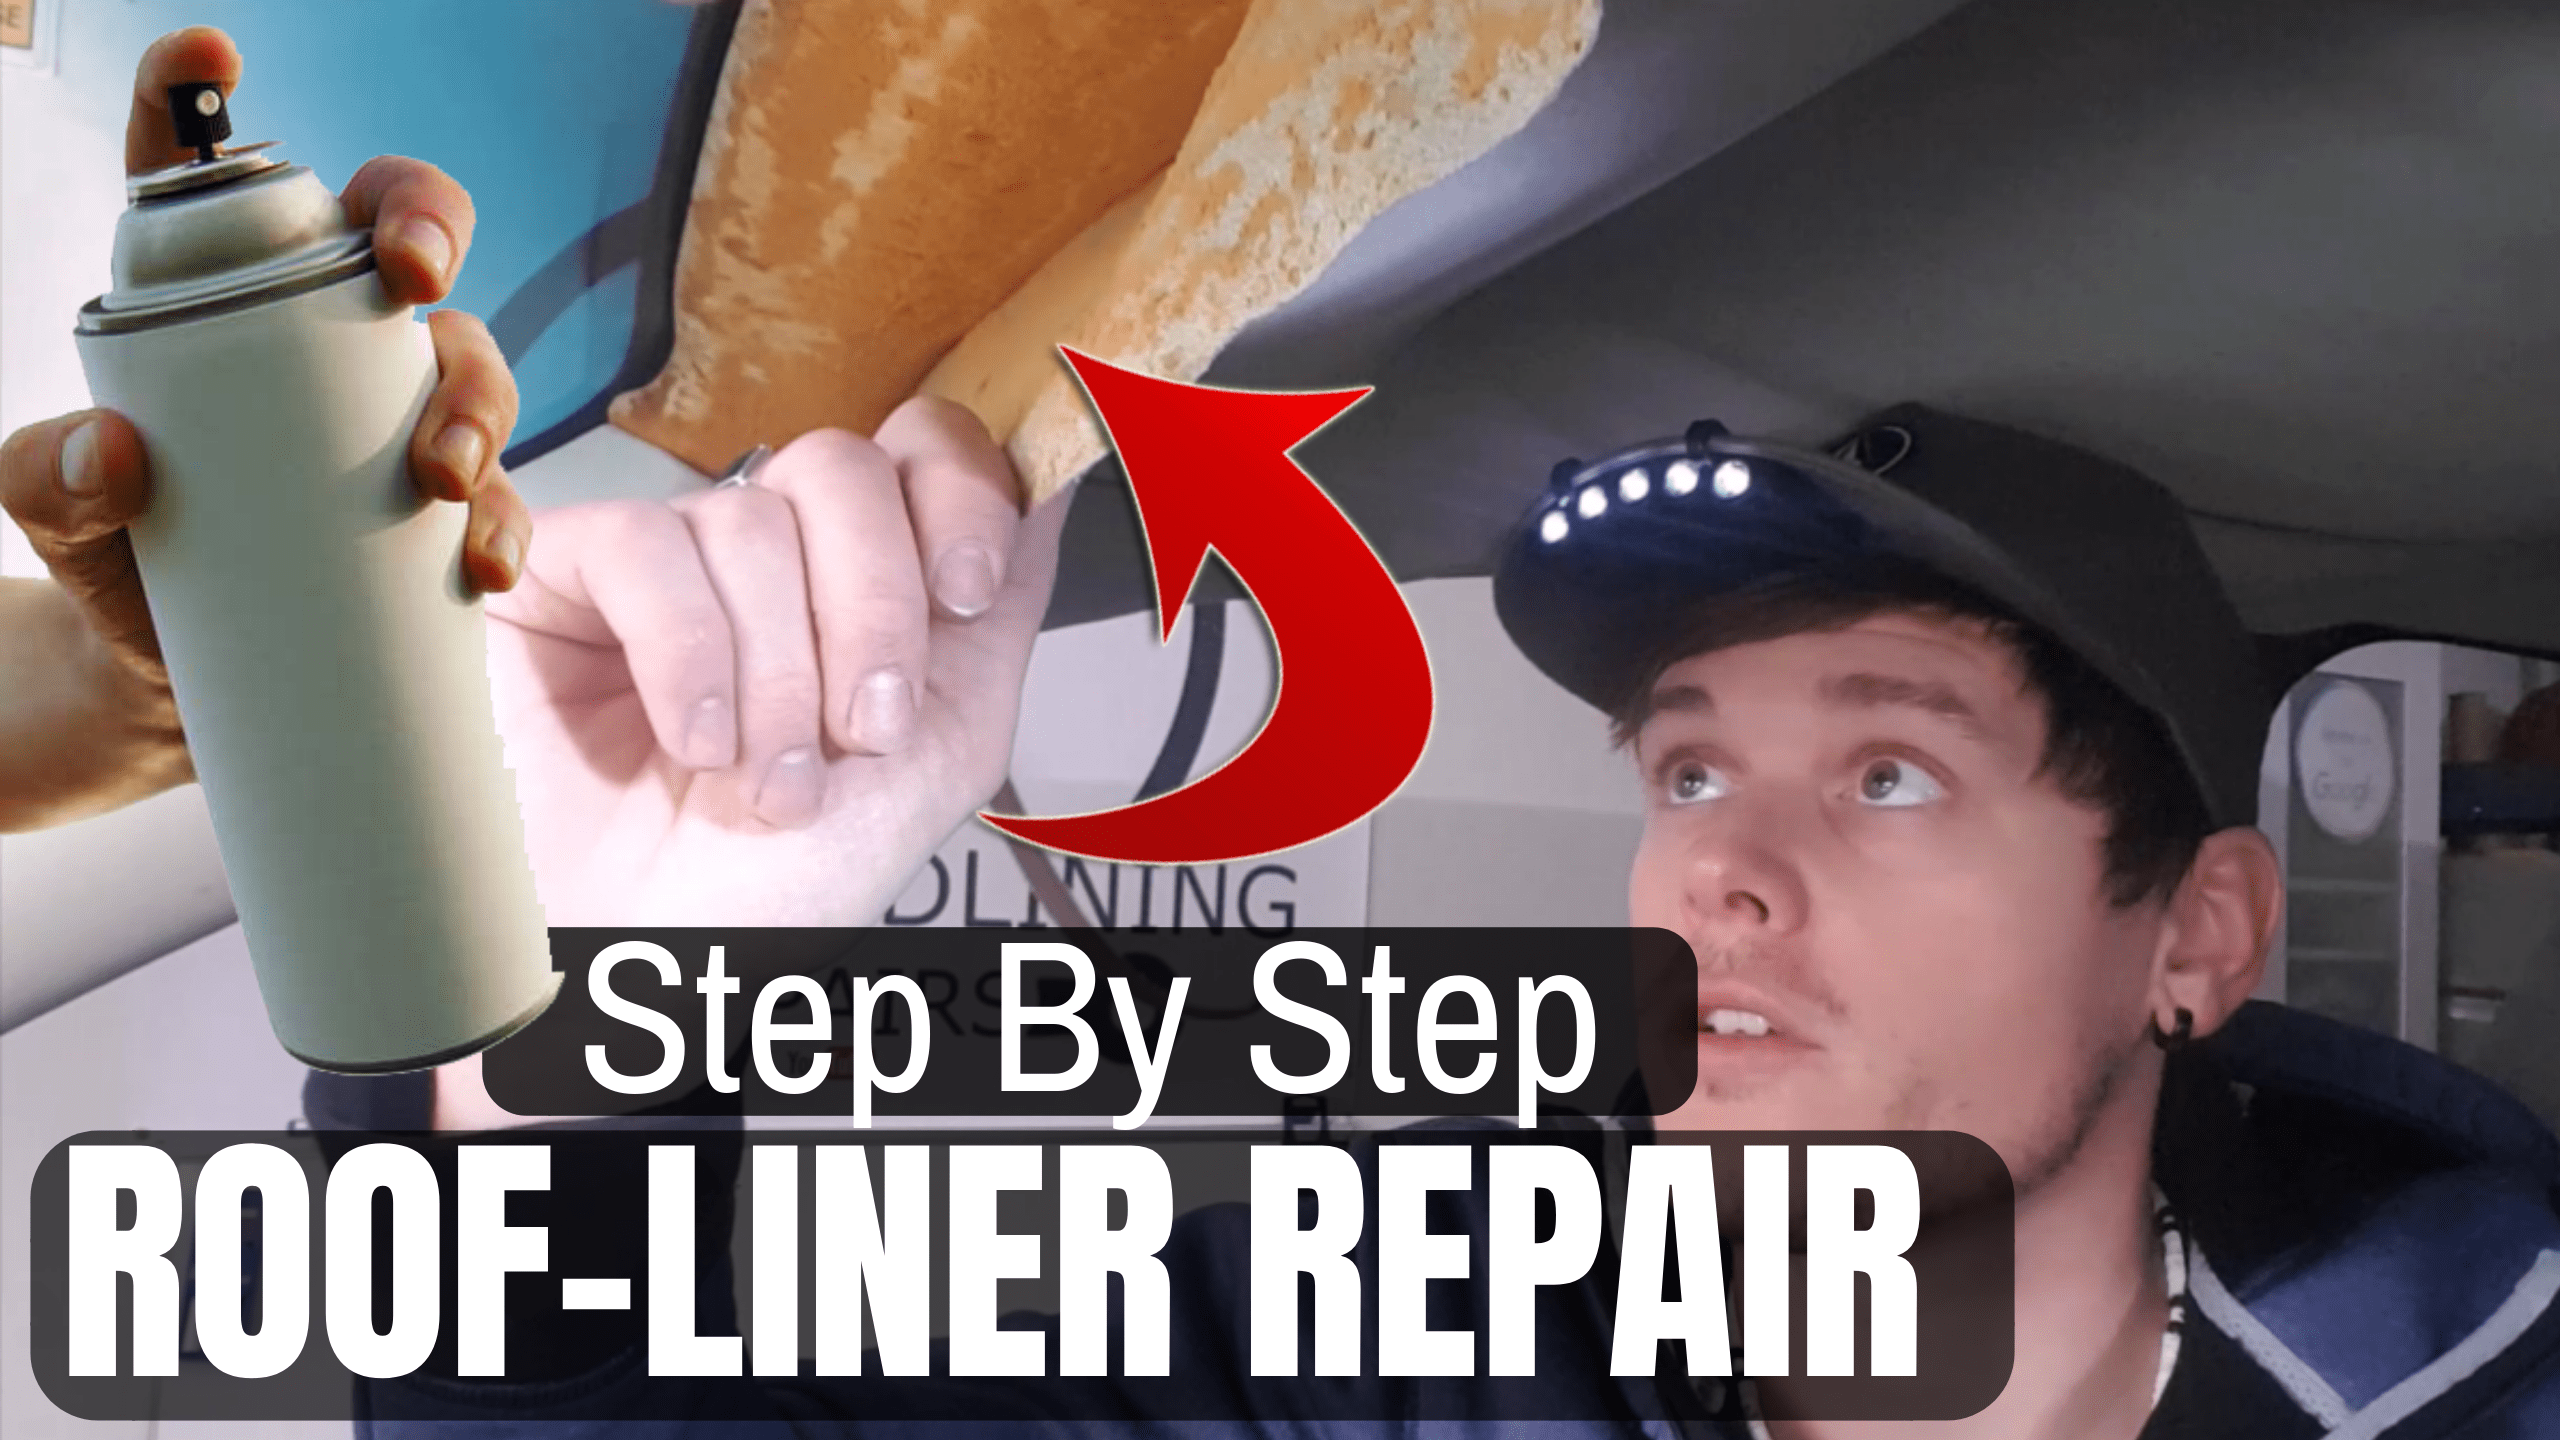
Our free videos demonstrate this process, and the Headlining Secrets eBook goes into much more detail.
Our existing headliner repair guide also specifically addresses why simply regluing the existing material isn't the proper long-term recovery method.
🛒 WANT EVERYTHING IN ONE PLACE?
If you're about to start your first DIY headliner project, we can help you source the materials.
WE OFFER:
✅ Foam-backed headliner fabric
✅ Headliner adhesive
✅ Vehicle-specific DIY fabric & glue kits
✅ Fabric samples
✅ Headlining Secrets DIY eBook
✅ Bonus instructional videos
✅ Ongoing help with DIY questions
Our fabric and glue kits are available for a range of popular vehicles, including Holden Commodore, Ford Falcon and Ford Territory models.
📖 BUT WHAT IF I'VE NEVER DONE A HEADLINER BEFORE?
That's exactly why we created Headlining Secrets.
The materials are only part of the equation.
Knowing how to use them is what makes the difference.
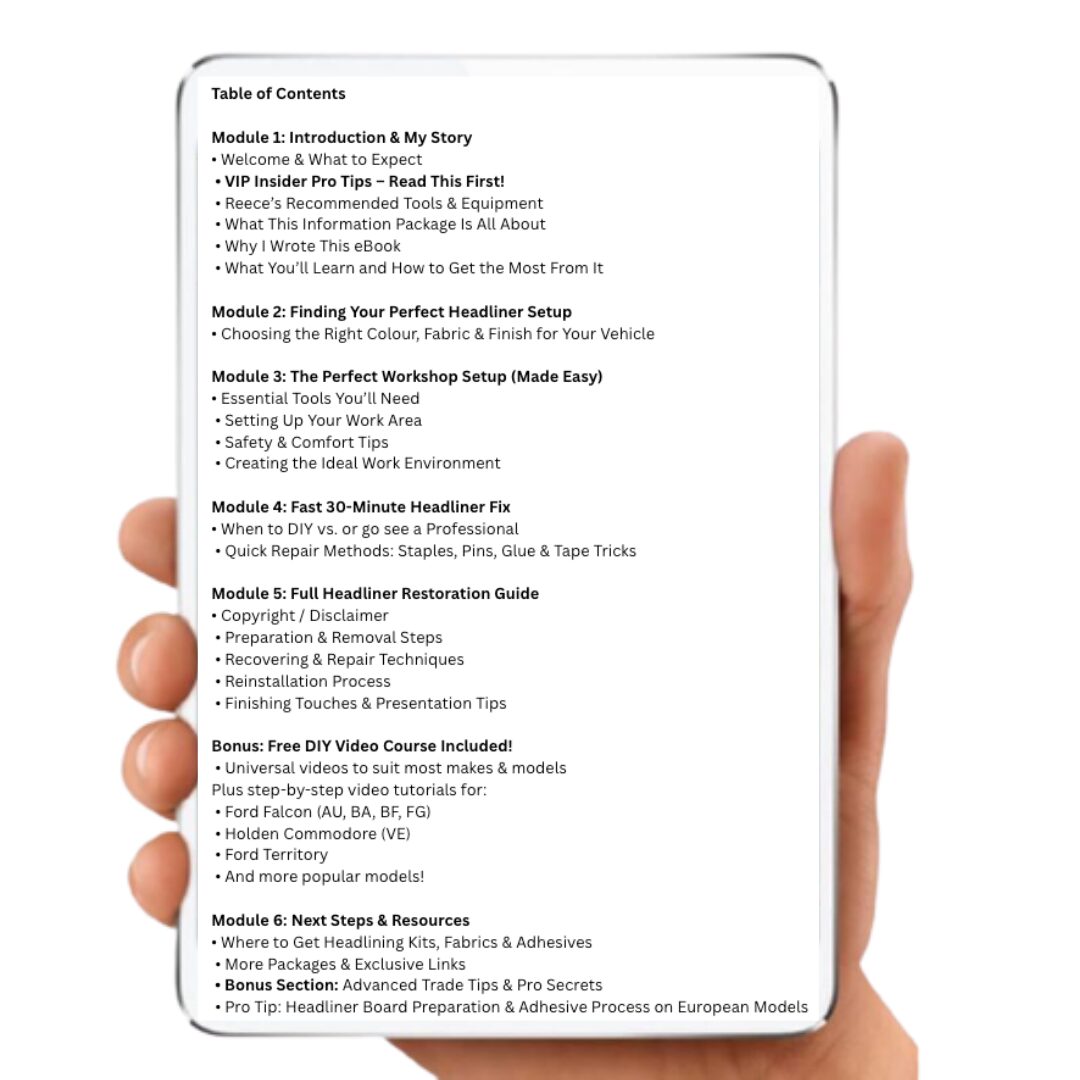
Our Headlining Secrets eBook + Bonus Video Course takes the information above and goes much further into the actual recovery process.
You'll learn about:
- Tools
- Fabric
- Adhesive
- Preparation
- Headliner removal
- Board preparation
- Fabric installation
- Trimming
- Reinstallation
- Common mistakes
- Professional tips
- Vehicle examples
- DIY techniques
Get the complete guide for only $24.95.
💰 WHY SPEND HUNDREDS IF YOU CAN LEARN TO DO IT YOURSELF?
Professional headliner repair is absolutely an option, and some vehicles are better left to an experienced professional.
But if you're comfortable with DIY work and want to learn a new skill, recovering your own headliner can be a rewarding project.
The biggest advantage isn't just saving money.
You learn a skill you can use again.
Once you've successfully recovered one headliner, the next project becomes much less intimidating.
🎥 FREE VIDEOS + COMPLETE DIY GUIDE
We've produced a large collection of free headliner repair videos over the years.
Our video content demonstrates everything from removing the board and cleaning old foam through to applying fabric, adhesive and reinstalling the finished headliner.
But if you want the information organised into one dedicated DIY guide, that's where Headlining Secrets comes in.
⭐ HEADLINING SECRETS
DIY CAR HEADLINER REPAIR eBOOK + BONUS VIDEOS
ONLY $24.95
Inside you'll find the information you need to approach your project with much more confidence.
Includes:
✅ DIY headliner recovery guide
✅ Fabric information
✅ Adhesive information
✅ Tool recommendations
✅ Preparation techniques
✅ Common mistakes to avoid
✅ Professional tips
✅ Bonus instructional videos
🚘 READY TO START YOUR PROJECT?
Before you order your fabric and glue, make sure you know what you're getting yourself into.
Then, once you're ready:
Choose your fabric.
Choose your adhesive.
Get the right tools.
Download the guide.
Start your project.
Everything you need to get started with your DIY car headliner repair.
WANT TO SEE OUR RECOMMENDED MATERIALS?
Browse our headliner fabrics, adhesives and vehicle-specific DIY kits, or download Headlining Secrets and start learning the process before you begin.
Headlining Secrets – $24.95
Learn it. Prepare it. Recover it. Do it yourself.
If you have already purchased the eBook, but can't find it in your email inbox, then take a read through on this link here below for further steps to follow
Related products
-
Sale!
HEADLINING SECRETS eBook + BONUS Video Walk-Through Courses
Original price was: $39.95.$24.95Current price is: $24.95. -
Sale!
DIY CAR ROOF LINING REPAIR AT HOME eBook – Headliner Repair & Re-Covering Guide + Videos
Original price was: $39.95.$24.95Current price is: $24.95. -
Sale!
HOW TO FIX A SAGGING CAR HEADLINER – DIY STEP-BY-STEP eBook + Video Guide
Original price was: $39.95.$24.95Current price is: $24.95.